



Written as part of our AI Upskilling Program
This article was created as part of the Global Devoteam AI Upskilling Program, where employees share their knowledge to accelerate their learning. The program’s key objective is to provide a foundation in AI for every employee and apply these new skills in our work. Do you want to work with us? Check out our career opportunities.
Estimated reading time: 13 minutes
Introduction
We are witnessing a shift from using AI as a tool to collaborating with AI as a teammate. In this new model, AI agents are embedded across an organisation, handling repetitive and routine tasks autonomously.
But how do you move from the hype to actually building AI Agents? This article is your practical guide to creating your first AI Agent on Google Cloud. You will get a better understanding of the agent’s anatomy and architecture. I will guide you step-by-step from conceptualisation to deployment, using the example of a “Travel Buddy” agent, built with Vertex AI Agent Builder.
Want to start with the basics? See our guide to Agentic AI on Google Cloud Platform or let our experts guide you through our Google Cloud AI & ML services.
Download Now: The AI Agent Handbook by Google Cloud
The Structure of an AI Agent
The Brain (LLM & Reasoning Engine)
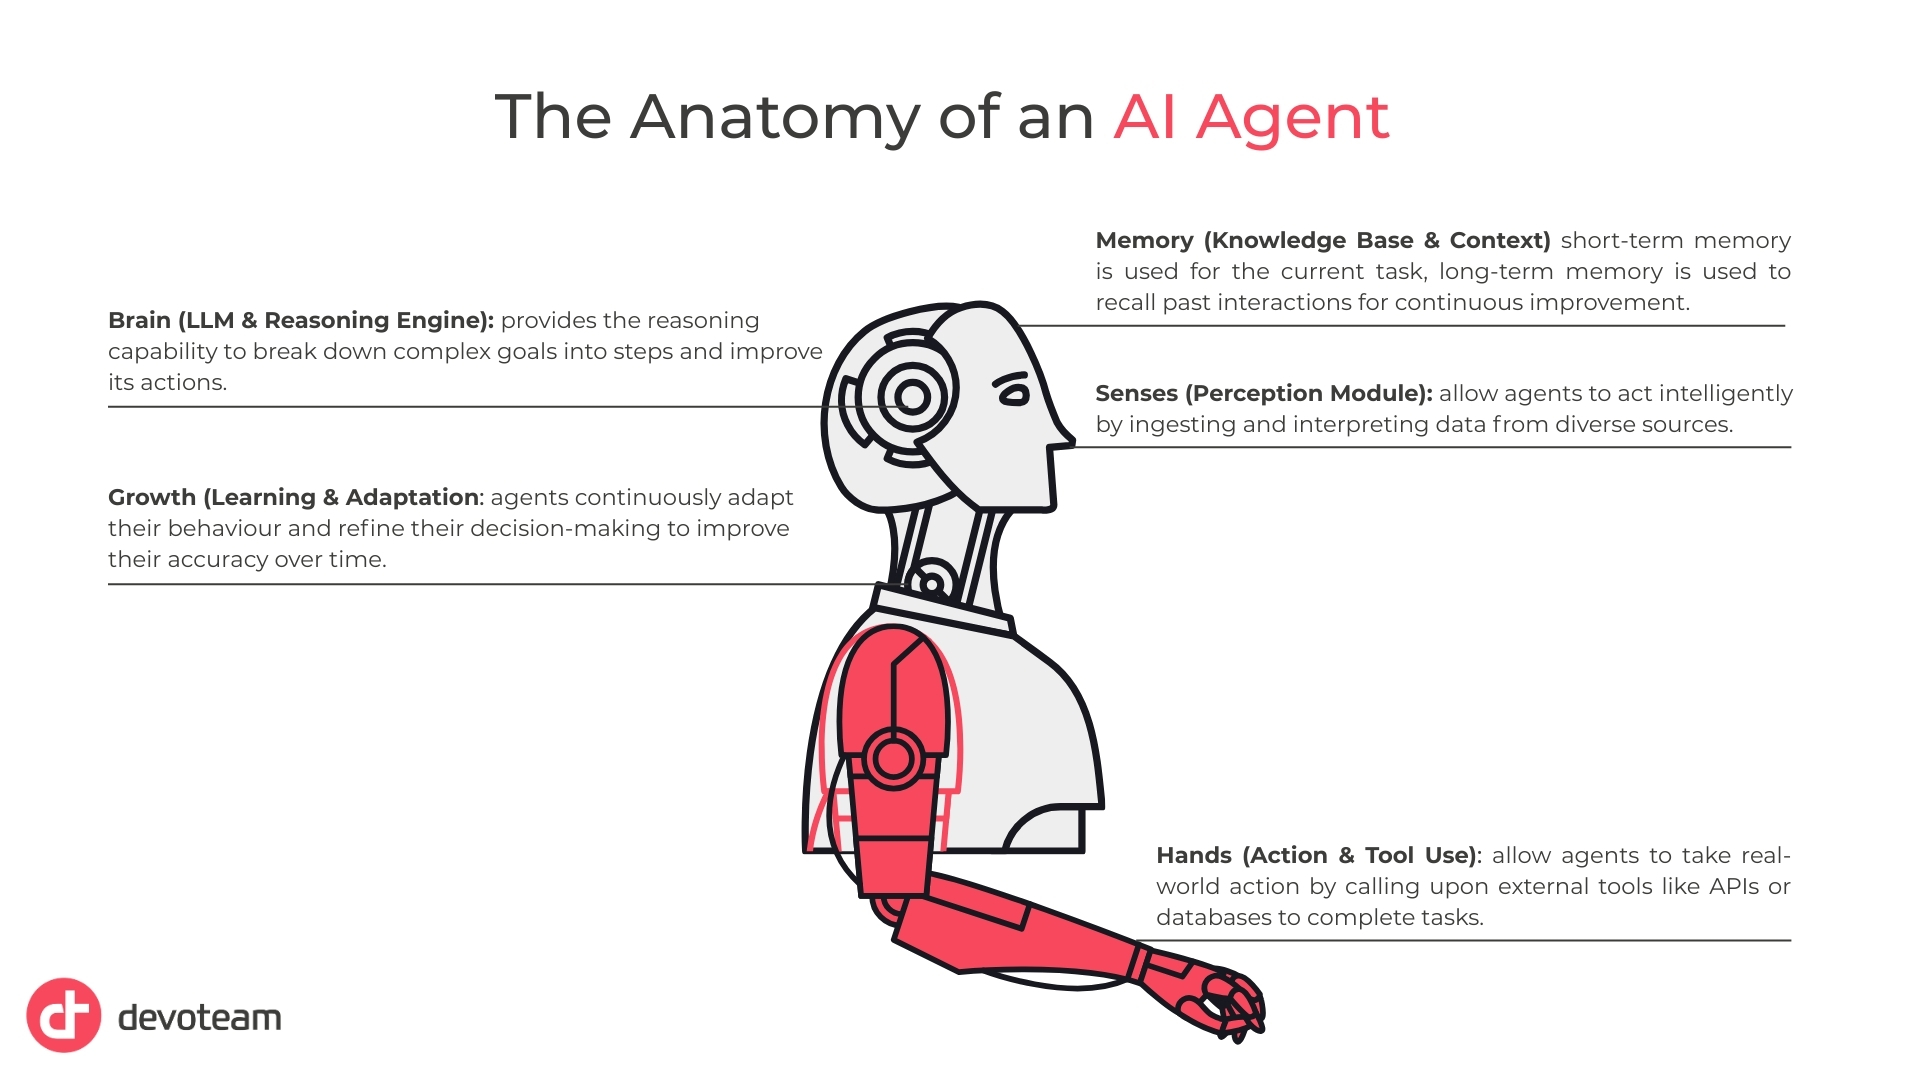
The cognitive core of any modern AI agent is a powerful Large Language Model (LLM), such as Google’s Gemini or OpenAI’s GPT series. This LLM serves as the agent’s brain, providing the foundational capabilities for natural language understanding, generation, and reasoning. This engine allows an agent to perform critical functions like task decomposition, breaking a complex goal into a series of smaller, manageable subtasks, and self-reflection, where the agent can critique its own actions and adjust its plan to better achieve its objective.
The Senses (Perception Module)
An agent must be able to perceive its environment to act intelligently. The perception module is responsible for ingesting and interpreting information from a wide array of sources. This includes processing user inputs in various modalities (text, voice, images, video), receiving data from system logs, querying structured databases and calling external APIs. It can even read data from physical sensors in IoT applications.
The Memory (Knowledge Base & Context)
Unlike a simple bot that treats each interaction as a blank slate, an AI agent possesses a memory system that is critical for contextual intelligence and personalisation. This memory operates on multiple levels:
- Short-term memory maintains context within a single, ongoing task or conversation.
- Long-term memory allows the agent to store and recall information from past interactions, user preferences, and learned knowledge. It enables agents to deliver hyper-personalised experiences and improve their performance over time.
The Hands (Action & Tool Use)
The defining characteristic that separates an agent from a conversational AI is its ability to take action in the real world. This is achieved through “tool use” or “tool calling,” where the agent’s engine determines that it needs to interact with an external system to complete a subtask. These tools can be anything from a web search API, a code interpreter, an internal database, a CRM system, or a function to send an email.
Growth (Learning & Adaptation)
The most advanced agents are designed to learn from their experiences. Through mechanisms like reinforcement learning or by analysing user feedback and task outcomes, a learning agent can continuously refine its decision-making processes, improve its accuracy, and adapt its behaviour to changing environments.
Download Now: The AI Agent Handbook by Google Cloud
AI Agent’s Architectural Patterns
Just as the components define what an agent is, its architecture defines how it operates. Agent systems can be designed in several ways, depending on the complexity of the task.
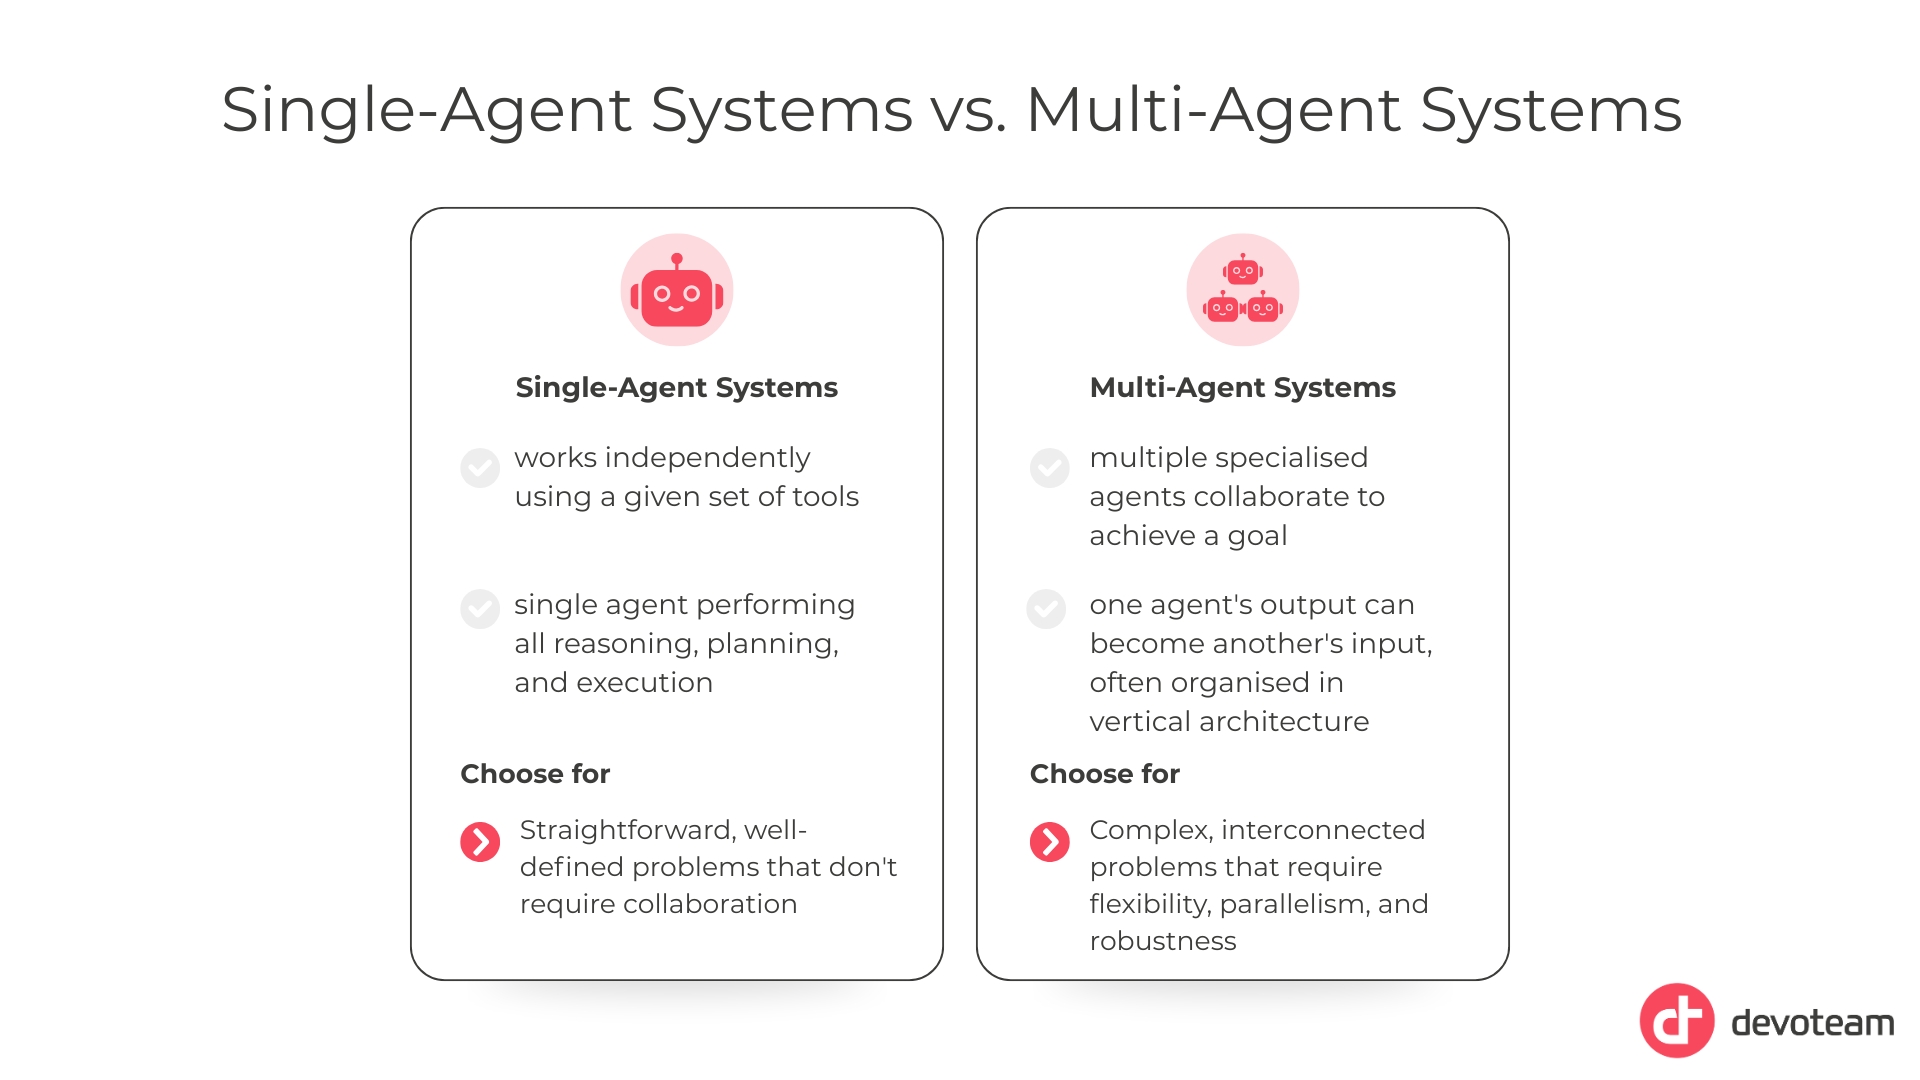
- Single-Agent Systems: These architectures involve a single agent performing all reasoning, planning, and execution. They are well-suited for focused, well-defined problems where collaboration is not required. The agent is given a goal and a set of tools and works independently to achieve the objective.
- Multi-Agent Systems: Complex, distributed problems need multi-agent systems, where multiple specialised agents collaborate to achieve a goal. In this approach, one agent’s output can become another’s input, and they can even critique or debug each other’s work. This collaborative model offers superior flexibility, parallelism, and robustness, with applications in supply chain optimisation, disaster response, and complex financial analysis. These systems are often organised in a vertical architecture, where a lead “orchestrator” agent decomposes a high-level goal and delegates subtasks to a team of specialised worker agents.
How to Create an AI Agent: Travel Buddy with Vertex AI Agent Builder
To move from theoretical understanding to practical application, this tutorial will follow the example of creating a “Travel Buddy” agent, a conversational assistant designed to help users plan trips, demonstrating the core workflow within the Vertex AI Agent Builder platform.

Step 0: Prerequisites and Environment Setup
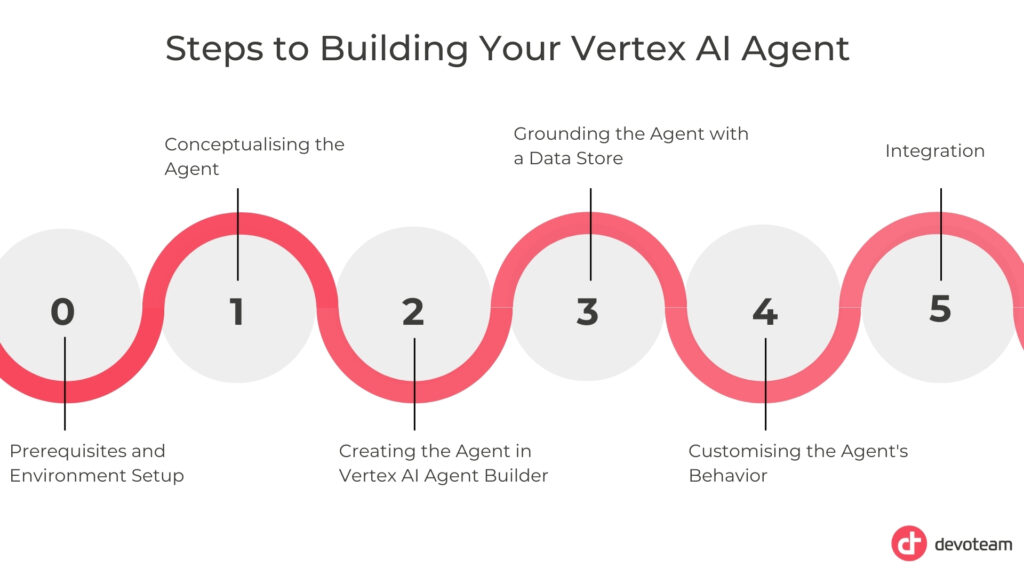
Before beginning, a few prerequisites are necessary to ensure a smooth development process. You will need:.
- Google Cloud Account: You need a GCP account with an active billing project.
- Command-Line Tools: To interact with GCP services from the terminal, you need to install and initialise the Google Cloud SDK on a local machine.
- Enabled APIs: You should enable two key APIs for your project. You can do this by navigating to the “APIs & Services” section in the Google Cloud console:
- Vertex AI API: Enables the core agent functionality, model interactions, and the overall Vertex AI platform.
- Discovery Engine API: Enables the creation, indexing, and management of the Data Stores that power the agent’s knowledge base (RAG).

Step 1: Conceptualising the Agent – Defining the “Why”
The most critical step in building an effective agent is to first establish a clear vision for its purpose and function. Rushing into development without a clear plan is a recipe for an agent that is unfocused and ineffective. Based on Google’s own Codelab methodology, one should ask several key questions:
- Problem to Solve: What specific user pain point will this agent address? For our “Travel Buddy,” the problem is that planning a trip is often overwhelming and time-consuming.
- Primary Functions: What specific tasks should the agent be able to perform? The Travel Buddy should be able to answer questions about destinations, plan itineraries, and assist with booking flights and accommodations.
- Limitations: What are the agent’s boundaries? It’s crucial to define what the agent cannot do. The Travel Buddy might not be able to handle highly complex or ambiguous queries and cannot generate images of destinations. Its knowledge is limited by its underlying model and the provided data.
- Persona: What personality should the agent have? The Travel Buddy should be knowledgeable, helpful, and enthusiastic to create a positive user experience.
- Success Metrics: How will you measure your agent’s performance? Success could be defined by user satisfaction with its recommendations or the completion rate of booking tasks. In our example, the Travel Buddy should be able to assist users with planning the trip and deliver positive experiences.

Step 2: Creating the Agent in Vertex AI Agent Builder
The next step is to create the agent’s basic structure in the Google Cloud console. The process begins in the Vertex AI Search section.
- Navigate to Vertex AI Search: In the Google Cloud console, go to the Vertex AI section. In the left-hand menu, under the Agent Builder category, click on the “Vertex AI Search” sub-tab.
- Start a New Application: On the section Create a new Search app, you will see several options for creating a search application. Select the first option, “Custom search (general)” and click “Create”.
- Configure the Application: You will now be on the main configuration page for your new agent:
- Enable Chat Functionality: In the “Generative responses” section, select the “Search and live-chat”. This is what transforms the application into a conversational agent.
- App name: Provide a name for your agent (e.g., Travel Buddy).
- Company name: Enter your company name or a placeholder (e.g., Travel Inc.). This helps shape the agent’s persona.
- Location: Select a geographical region to host your application.
- Create the App: Click the “Continue” button. This will provision the basic application shell. The next step is to create a Data Store, which is required before you can start conversing with the agent.
Download Now: The AI Agent Handbook by Google Cloud

Step 3: Grounding the Agent with a Data Store
An out-of-the-box LLM has general knowledge but lacks specific, proprietary, or real-time information. To make your “Travel Buddy” agent truly useful, you must ground it in relevant data. This process, known as Retrieval-Augmented Generation (RAG), connects the agent to a knowledge base you provide, dramatically improving its accuracy and reducing the risk of making up incorrect information.
Go to the AI Applications and go to the option Data to connect your knowledge base.
- Create a New Data Store: On the screen, you’ll see an empty list of data stores. Click the “Create data store” button to begin.
- Select Your Data Source: You will have to choose where your information is stored. A common and powerful option is Google Cloud Storage. You can select this to point the agent to a bucket containing your documents. Other options include automatically indexing a website or uploading files directly.
- Provide Your Content: For your “Travel Buddy,” you could point it to a Cloud Storage folder containing PDF documents, text files, or FAQs about travel destinations, visa requirements, or hotel policies.
For this tutorial, we will upload three example text files to our Cloud Storage folder: lisbon_guide.txt, paris_faq.txt, and visa_requirements.txt. You can find the text to copy in the appendix. - Create and Connect: After configuring your source, create the data store. The system will automatically begin indexing your content and will connect this new data store to your “Travel Buddy” application.
Once the data store is created and has finished indexing, your agent is officially grounded. Now, when a user asks a question that the LLM can’t answer from its general knowledge, it will automatically search this data store to find and provide a relevant, factual answer from your documents.

Step 4: Customising the Agent’s Behaviour
Now it’s time to define how the agent behaves and interacts with users. While this type of app doesn’t use external API tools, you can customise its core conversational experience directly in the Configurations panel.
- Navigate to Configurations: In the left-hand menu of your agent’s console, click on “Configurations”.
- Fine-Tune the Agent: This page gives you several powerful levers to control the agent’s responses:
- Select the Language Model: You can choose which Gemini model powers your agent. This allows you to balance performance, cost, and the model’s reasoning capabilities.
- Customise Answer with Instructions: In the “Instructions” text box, you can give it direct commands. For your “Travel Buddy,” write:
You are Travel Buddy, a friendly, enthusiastic, and helpful travel planning assistant. Your goal is to answer user questions based ONLY on the information provided in the documents. If the answer is not in the documents, say that you do not have that information. Always format lists with bullet points.
- Control Summary Length: You can set the “Summary result count” to control how many search results the agent uses to generate its summary answer, helping you manage the thoroughness of its responses.
- Test in the Preview Simulator: After saving your configurations, click on “Preview” in the left-hand menu. You
can now chat with your agent in the simulator on the right-hand side of the screen.
You can test it by asking the following questions. To see the test result, go to the appendix
- When should I go to Paris?
- What should I eat in Lisbon?
- What documents do I need for a Schengen visa?

Step 5: Integration
Once you have configured and tested your agent, the final step is to make it available to your users. You can do it through the Integration section, which provides ready-to-use methods for deploying your chat widget.
- Navigate to Integration: In the left-hand menu, click on “Integration”.
- Choose an Integration Method: You will see several options:
- Web Widget: The most common option is “Widget”. This provides a simple HTML
<iframe>or<script>code snippet. You can copy this snippet and paste it directly into the HTML of any website to instantly embed your “Travel Buddy” chatbot. You can also customise the widget’s appearance. - API: For more custom applications (like a mobile app or integration with a third-party service), you can use the API. This section will provide the necessary endpoint details and authentication information for developers to interact with your agent programmatically.
- Web Widget: The most common option is “Widget”. This provides a simple HTML
By following these steps, you can successfully deploy your document-aware conversational agent into a real-world application.
Conclusion
The age of AI agents is here. The tools are ready. The next breakthroughs will belong to those who can skillfully use it.
By following the journey of the ‘Travel Buddy’ agent, from a simple idea to a deployed application, we can see the fundamental shift in the developer’s role. Building an effective agent is less about writing complex, procedural code and more about becoming an AI orchestrator: thoughtfully defining the agent’s purpose, grounding it in reliable data, and equipping it with the right set of tools.
The ‘Travel Buddy’ is a starting point, but the architectural patterns and components explored here are the building blocks for creating far more sophisticated solutions. The true potential is unlocked when you begin to apply these techniques to solve real-world challenges within your own organisation, automate complex processes, and create digital teammates.
Need assistance with creating and embedding AI agents across your operational workflows? Check our Google Cloud AI & ML Services or directly get in touch with Devoteam’s Google Cloud experts and we’ll be happy to guide you through this process.
Discover what the AI Agent Trends
mean for your business
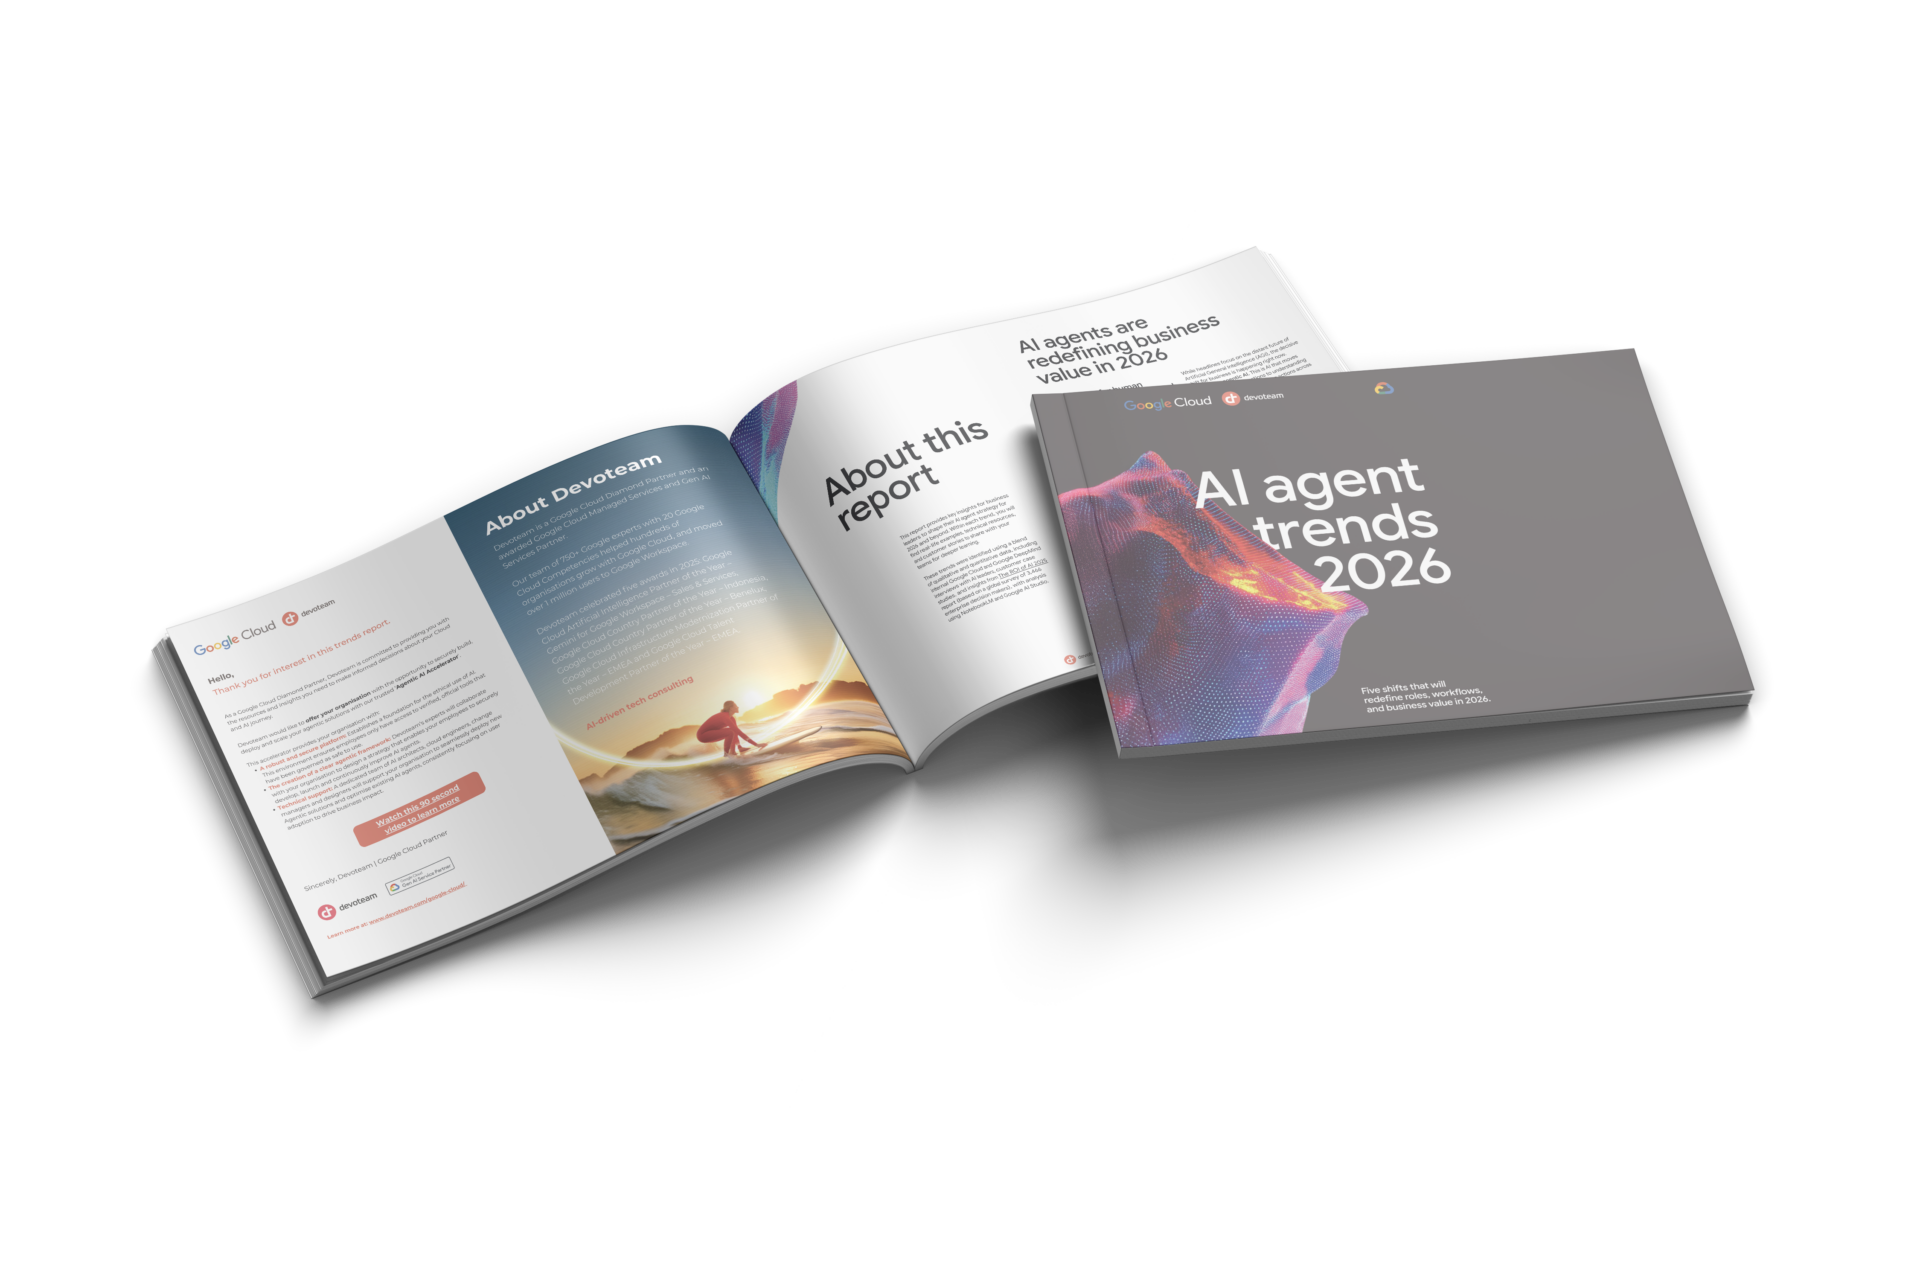
Download the report to find out:
- How the 2026 trends can shape your organisation’s agentic AI strategy.
- Practical examples on how to deploy agents across your enterprise.
- A series of adoption techniques to empower staff to use agentic AI.
Appendix
Example text to use for Step 3.3
lisbon_guide.txt
A Traveler's Guide to Lisbon, Portugal

Welcome to Lisbon, the vibrant capital of Portugal! Perched on the edge of the Atlantic Ocean, Lisbon is a city of historic charm, culinary delights, and stunning views.

Exploring the Neighborhoods:
Start your journey in Alfama, the city's oldest district. Wander through its narrow, cobblestone streets to discover the São Jorge Castle and listen to the melancholic sounds of Fado music drifting from local taverns. In contrast, the Belém district is home to grand monuments from Portugal's Age of Discovery, including the Belém Tower and the Jerónimos Monastery. Don't leave Belém without trying the original Pastéis de Belém, a delicious custard tart.

Must-Do Activities:
A classic Lisbon experience is riding the historic yellow Tram 28. This tram rattles through many of the city's most scenic neighborhoods, offering a unique tour. For a panoramic view of the city, head to one of the many "miradouros" (viewpoints), such as Miradouro da Senhora do Monte.

Culinary Scene:
Lisbon's food scene is a highlight. Beyond the famous custard tarts, be sure to try fresh seafood dishes, grilled sardines (in season), and "bifana" (a marinated pork sandwich). The Time Out Market is a fantastic food hall where you can sample a wide variety of Portuguese and international cuisine under one roof.
paris_faq.txt
Frequently Asked Questions: Visiting Paris, France

Q: What is the best time of year to visit Paris?
A: The best time to visit Paris is during the spring (April to June) or fall (September to October). The weather is pleasant, and the city is less crowded than during the peak summer months. Summer can be very hot and crowded, while winter is cold but has a festive atmosphere around the holidays.

Q: How do I get around the city?
A: The Paris Métro is the most efficient way to travel around the city. It's fast, affordable, and covers nearly all major areas. You can buy single tickets or a "Navigo" pass for unlimited travel. Walking is also a wonderful way to explore individual neighborhoods like Le Marais or Montmartre.

Q: What are three attractions I absolutely must not miss?
A: For a first-time visitor, the three essential attractions are the Eiffel Tower, the Louvre Museum (home to the Mona Lisa), and the Notre-Dame Cathedral (even viewing its exterior during restoration is breathtaking).

Q: Is tipping expected in Parisian restaurants?
A: Tipping is not mandatory in Paris as a service charge ("service compris") is already included in your bill by law. However, if you receive exceptional service, it is common to leave a few extra euros (5-10%) on the table as a gesture of appreciation.
visa_requirements.txt
General Schengen Area Visa Information

Overview:
The Schengen Area is a zone of 27 European countries that have officially abolished all passport and all other types of border control at their mutual borders. A Schengen visa is a short-stay visa that allows a person to travel to any member of the Schengen Area, per stays up to 90 days for tourism or business purposes.

Required Documents:
While requirements can vary slightly by consulate, the following documents are generally required for a Schengen visa application:
- A completed visa application form.
- A valid passport with at least two blank pages, valid for at least 3 months beyond your planned departure from the Schengen area.
- Two recent passport-sized photos.
- Proof of travel insurance covering medical emergencies, with a minimum coverage of €30,000.
- A detailed travel itinerary, including flight reservations and hotel bookings.
- Proof of sufficient financial means to cover the stay, such as recent bank statements.
- A cover letter stating the purpose of your visit.

Application Process:
1. Identify the correct embassy or consulate to submit your application. This is typically the country of your main destination.
2. Schedule an appointment for a visa interview.
3. Attend the interview with all required documents.
4. Pay the visa application fee.
5. Wait for the decision on your application. Processing times can vary from 15 to 45 days.